

Pumpkins are easy to work with and they usually go on sale right after Halloween, just in time for the holidays! You don't need to buy pumpkin pie filling in order to enjoy the health benefits of pumpkin either. I found a fantastic deal on both the large jack-o-lantern type pumpkins AND the smaller pie pumpkins so I stocked up on a whole lot of each of them!
The pie pumpkins were hard as little rocks. I could not have cut them in half with my serrated knife if my life had depended on it, so I baked them in my oven first to soften them up. Wash the skins of the pumpkins to remove all dirt and other deposits. Place your pumpkins on a cookie sheet in a 350 degree oven for 45 minutes. Puncture holes in the skin so the steam doesn't build up inside and cause a mess, place a small amount of water on the baking sheet, and let them cook. They can then be cut open and taken care of. I know, I know usually you scoop the guts and seeds out first. Trust me, this was much easier on this particular type of pumpkin.
If you are looking for a good solid bowl, those little pie pumpkin shells are very sturdy. I think I may place a few around my yard for butterflies, toads, and other creatures next summer.
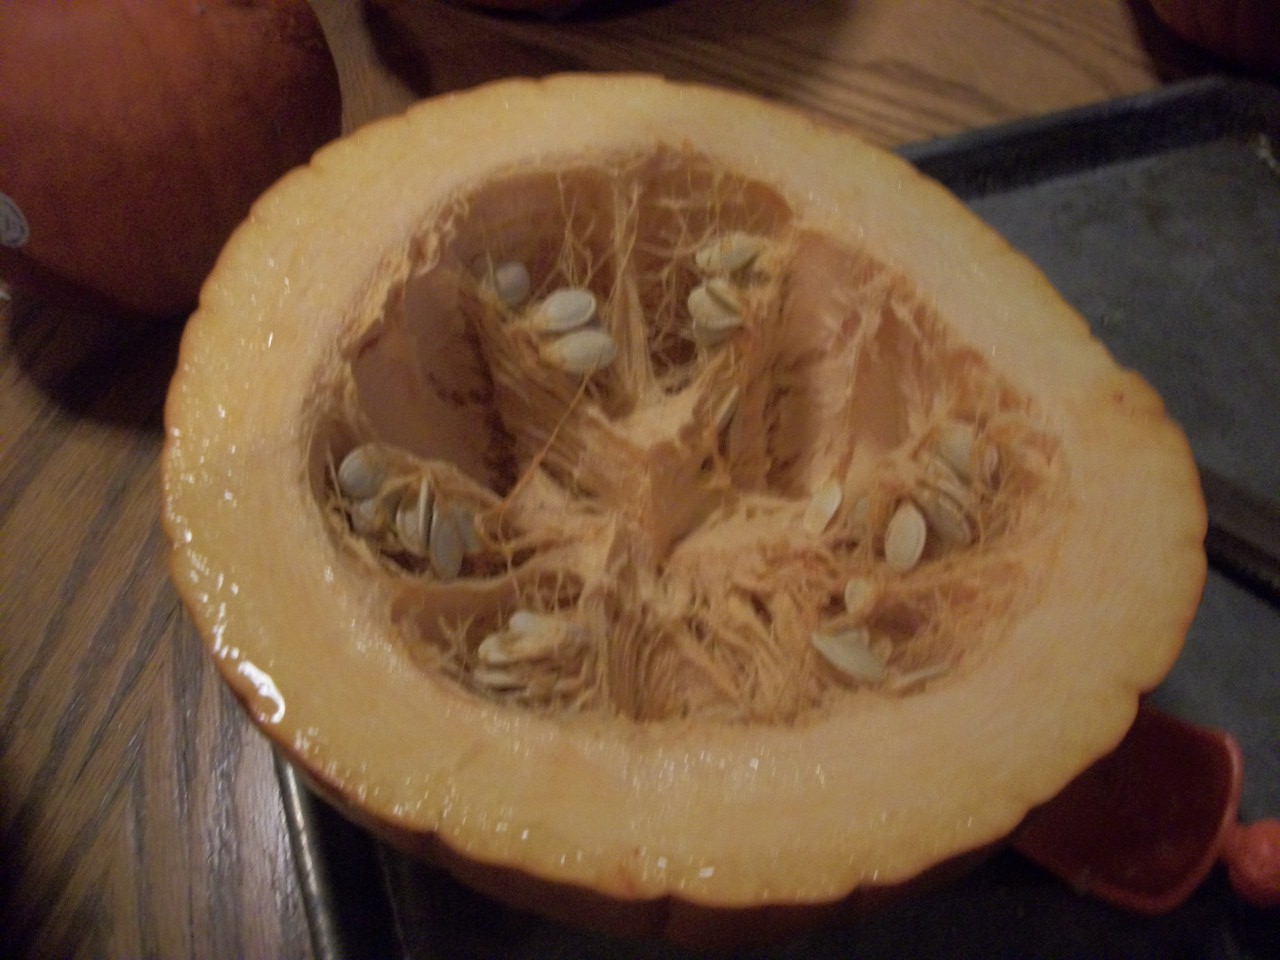
 It is easier to scoop the seeds out if you cut the pumpkin in half instead of the traditional hole in the top for your jack-o-lantern method, but either way will suffice. My daughter wanted to carve a couple of the pumpkins, so I did 2 that way and the other 15 got cut in half. The ones that were cut in half took MUCH less time to de-gut.
I also found it much simpler to separate the strings from the seeds if they were soaked in a bowl of hot salt water for several hours (or over night) prior to attempting the separation procedure. Don't get me wrong, it's still not easy. It still takes time.
Once the guts and seeds are safely untangled from one another, you can dry the seeds off and roast them for a quick and healthy snack. They can be topped with a wide variety of seasonings. I strained my seeds in a colander. The seeds should be dry, (yes, I did forget that "small" matter, why do you ask?) lay them on baking sheets in a single layer and top with your favorite ingredients.
Once the guts and seeds are safely untangled from one another, you can dry the seeds off and roast them for a quick and healthy snack. They can be topped with a wide variety of seasonings. I strained my seeds in a colander. The seeds should be dry, (yes, I did forget that "small" matter, why do you ask?) lay them on baking sheets in a single layer and top with your favorite ingredients.
One of my trays was coated in a mixture of 2 T butter, 1 T Worcestershire sauce, curry powder, garlic powder, and salt. A second tray was lightly sprayed with olive oil and sprinkled with cinnamon sugar, and the final 2 trays were spritzed with oil and lightly salted. I put my seeds in the oven at 250 degrees for 1 hour, flipping the seeds with a spatula part way through the cooking time will insure that both sides of the seeds will get evenly toasted.
After the seeds were taken care of, I was off to play with the pumpkin meat! You can use the meat from any pumpkin. Many of my friends were under the mistaken impression that only the pie pumpkins were fit for consumption which is completely not true! I have heard many who actually prefer the less sweet jack-o-lantern type pumpkins. The major difference between pie pumpkins and jack-o-lantern is the sweetness of the pie pumpkins and the stringiness of the jack-o-lantern pumpkins though you may not even notice much of a difference when baking with either kind, or so I am told.
Home made pumpkin puree should not be canned as we can't be sure that it will heat sufficiently throughout to ensure a safe product. Though it can be frozen or dehydrated quite successfully I am told. I cut my pumpkin into chunks and placed them into my canning jars. It is easy enough to drain the liquid and puree when you are ready to use it!
Pour boiling water into your jars of pumpkin chunks, leaving 1 inch head space, place lid and ring onto the jar and place into pressure canner. Once all of your jars are in place put the lid on and lock into place. Process at 10 lbs pressure (at most elevations though if you are above a certain altitude you may need the 15 lb weight) 65 minutes for pints, 75 for quarts.
Please, please if you have never used a pressure canner before thoroughly read your instruction manual several times until you feel comfortable with the process. These instructions are not meant to fill a novice in on the entire process of canning a product from beginning to end. I do not want to be responsible for a canning injury or a splattered ceiling. (It's a long story...)
I won't share recipes here, they abound on the Internet. Most of the ideas listed here are items I found easily here. I did find some great ideas for things I will make in the near future though. Here are some of the items I am contemplating making include pumpkin pie, pumpkin bread, pumpkin pasta noodles, pumpkin soup, pumpkin butter, pumpkin pancakes, pumpkin casserole, pumpkin rolls, oh I could go on and on!
I wonder if my family will even like pumpkin... I guess I should have thought of that before beginning this endeavor. Happy eating!
Thank you for stopping by to chat with me. Please leave me a message, I'd love to hear your thoughts!
Cindy
No comments:
Post a Comment